Markup form with PRA statement
instru Markup Applic forms_withPRA_11252019.docx
Markup Application
Markup form with PRA statement
OMB: 1028-0127
Markup Application User Experience Forms
11/21/2019
First users have to choose which existing account type they want to login with. Then they have to provide credentials for the selected account to authenticate the access into the Markup Application. Once they are logged in, only the email address associated with the chosen account gets captured in the Markup App. Once logged in, users are able to create and submit markups.
Step 1: User chooses to sign in with his/her existing Google, ArcGIS Online, or Microsoft account credentials.
Here the user can click on the Paperwork Reduction Act button to view the relevant information.


Step 2: User fills out the credentials for either the account chosen in step 1.

Step 3: Markup Application displays the email address associated with the account chosen for authentication.

Workflow for Creating and Submitting Markups
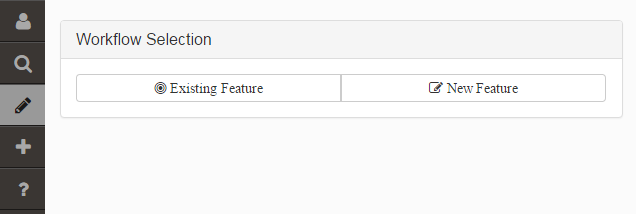
Step 1: User chooses to markup an existing feature or to create a markup for a current feature.

Step 2: User chooses which feature layer they want to create the markup for, using pre-defined drop-down lists.

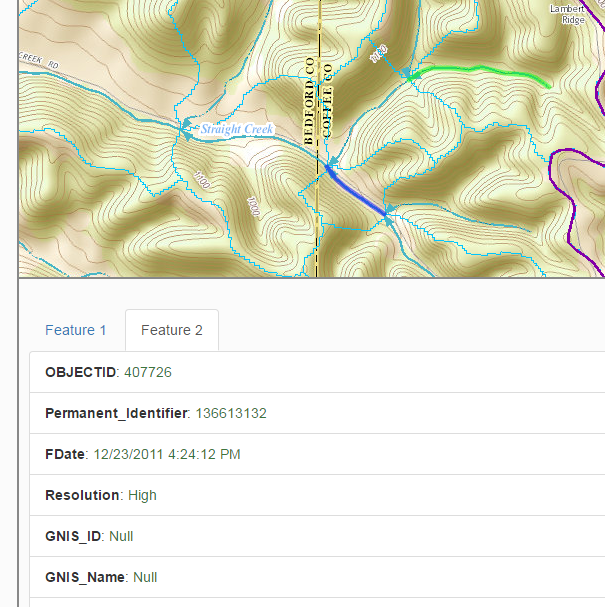
Step 3: User uses the map to select a feature for marking up

Step 4: User chooses a type to action that the markup will communicate.

Step 5: In case of the action called “update existing feature”, user has to draw a proposes shape for the selected feature using a drawing tool in the application.


Step 6: User populates description for the proposed markup and has an option to suggest changes to attributes:

Step 7: User clicks “Save” button to save the markup into the database.
|
Page |
| File Type | application/vnd.openxmlformats-officedocument.wordprocessingml.document |
| Author | jsayer |
| File Modified | 0000-00-00 |
| File Created | 2024-07-20 |
© 2026 OMB.report | Privacy Policy